
People are constantly asking about inexpensive, cheap or even free storage solutions. Now, I know CHEAP! (I would much rather spend money on the supplies than what to store them in...but I do need all the organizing help I can get) We also know that us paper crafters do our share of killing a few trees. So I came up with this idea yesterday to get my Sakura gellys out of the packages and out of the way so I could see them and use them. OH, but I sure didn't want to drive an hour or spend the money...what or what could I do?
Save a tree...that's what I could do! I made this out of toilet paper rolls. Yes you heard me right. Well, it can't be very sturdy then you ask, WRONG...its very sturdy. And all I used were things I had right on hand anyway. (Thank goodness the trash doesn't get emptied often in the bathroom lol)
I could have made this fancier (and so can you) but I was in a hurry and just wanted it to work for now...ok those are words I say a lot but do not ever go back and do more, but if I do not, it still works. So below I'll show you how I did this and it took me about an hour. You can make as many or as little as possible but I wouldn't go less than 4 if you want it sturdy and not tip easily.

Step one, I found a very thick cardstock and cut to the right size making the width about an inch longer so that it overlaps. already stronger and looks better!

I then glued them all together. Staggering them so they were each glued to several sides. As you can see, I was sloppy with the glue. Making sure I had plenty to hold them together and it is clear and will be mostly covered anyway so you won't see it.
(NOTE: this whole thing was messy as most of my work, but you just add embellishments and cover up any mess...wala!)

The next step is to take and glue chipboard to the bottom of your tubes. (Cereal box will work too or anything like that) I actually put glue around all the edges and sat it on the board...then added lots of extra glue around the edges to make sure it stuck well.

Next, I cut out around the tubes. See, very sloppy but again, its okay. Once that was done I just made a bunch of random cuts all the way around up to the edge of the paper rolls. (For those who use cut files its the same concept as making boxes etc but not as neat)
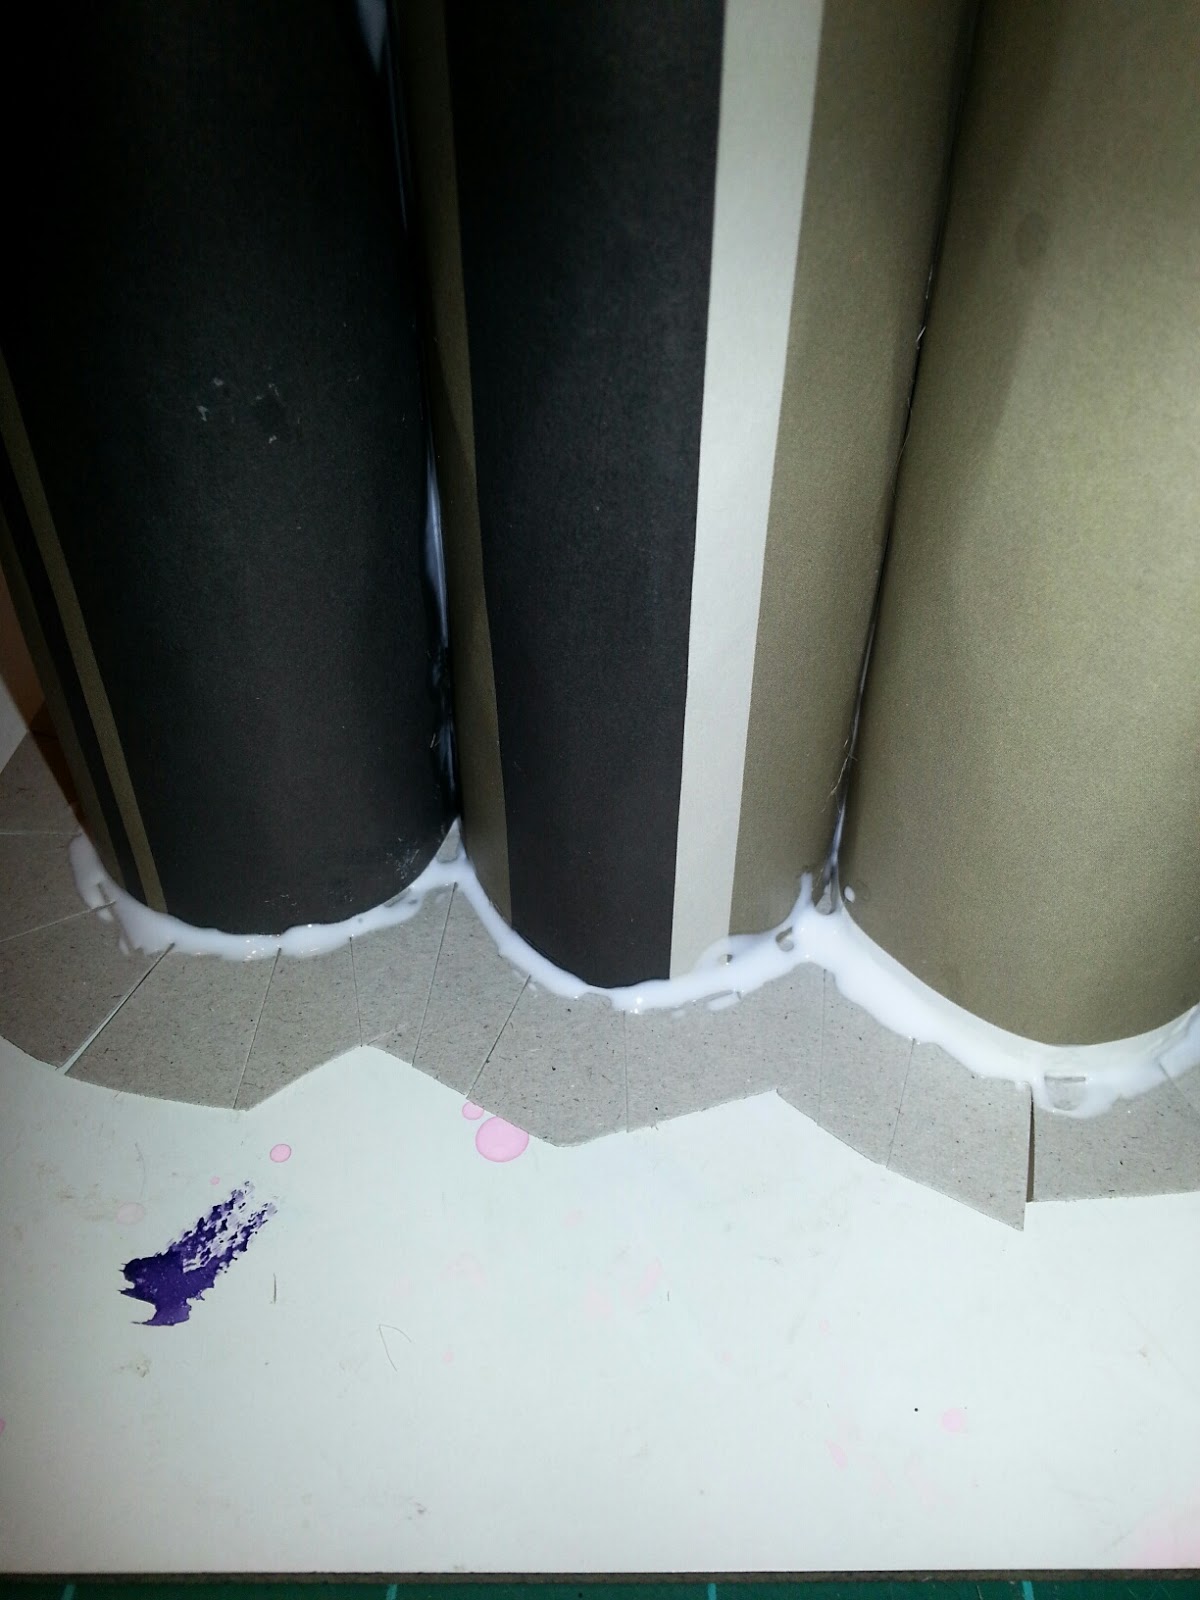
Then I folded each cut and glued it to the tubes...making sure I got a nice tight seal. Did I mention it is sloppy lol

This is just the view of the bottom AFTER all the tabs have been glued.

I then wrapped a piece of burlap around it. This was a very thick piece so I folded it in half to give extra strenth. I glued the pieces on as well all the way around it. We have now added a very sturdy structure. I did add a piece of lace for a bit of decoration for now ;)

I actually have 6 different sets of these pens (why I used 6 tubes) and they all are for different uses. I did not want to search around wondering which was which so I wanted to add tabs. For ME, I wanted them to stand out so I could see them well from where ever this is at the moment. I also wrote the name of the particular set and then squiggled each color on my tags. The front tags are attached with a small brad. The ones in the back however, are attached to a stick which is glued to the tube. This allows me to see the tags ABOVE the pens in the back row.


So make yours as fancy as you want, as large as you want. Do whatever to make it your own. You can also use PVC pipe for more sturdiness, but then you have to kill more plastic trees ;)
I really hope this gave someone some ideas!


